A package that adds various tools which allow you to control forces and gravity in your unity scenes like never before!
Check out the package here: https://github.com/westonwright/forces-and-gravity-unity
Force Producers
Force Producers calculate the force applied to a point in space depending on the type of producer.
Producers can individually apply a different type of force (Force, Acceleration, Impulse, VelocityChange) and can use additive or weighted blending to mix with other producers.
You can create arbitrary types of ‘force’ and decide how you want them to affect objects in your scene through your own code or built-in systems. These custom forces can also selectively mix with other custom forces and use Layer Masks for further specification.
All Force Producers inherit from the ‘ForceProducer’ class and have some variables in common:
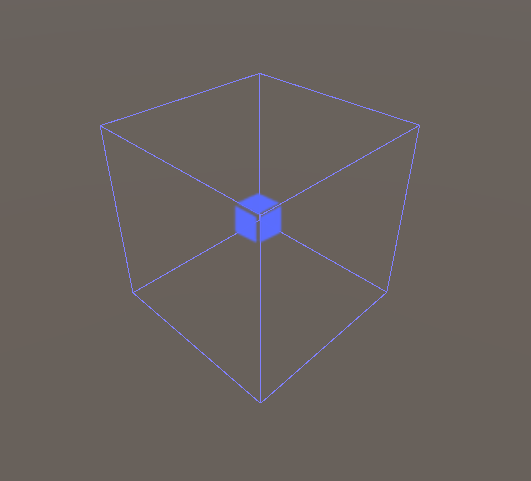
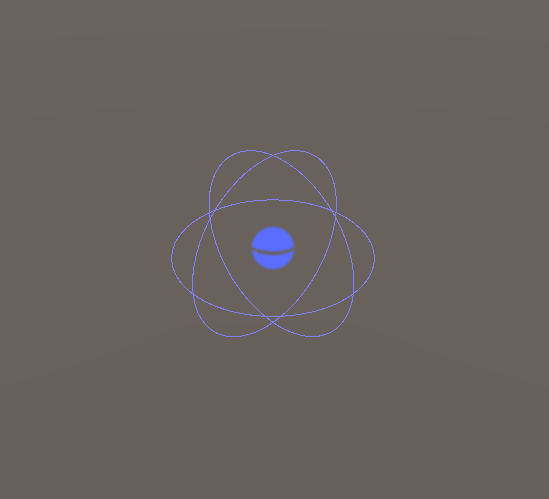
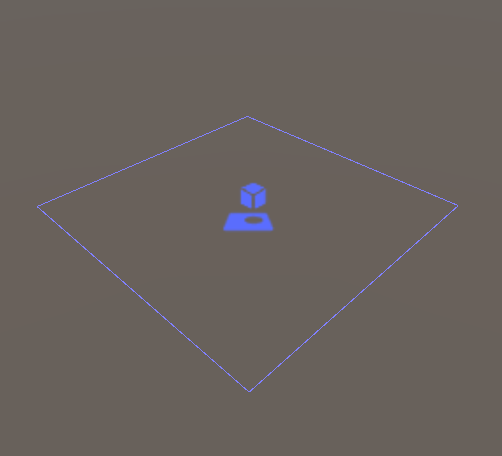
- Preview
Displays a Gizmo for the producer being displayed and its falloff. Changes Color based on Force Type and if the force is enabled.
- Enable Force
Togglable enables or disables producers from applying forces.
- Force Type
Determines which force type to apply from this producer. Force Types are Scriptable Objects which give some information about how they should behave. There are 4 included with the package but it is easy to create more to fit your needs.
- Layer Mask
Which layers to apply forces to.
- Force Strength
The strength of the forces being applied.
- Importance
Used to order producers for mixing and overwriting. The order of importance is (low to high): 1 to Infinity, then -1 to -Infinity, the 0 at the lowest importance.
- Additive
Toggles if this producer mixes with other producers. If True, it will always apply its force instead of mixing with other producers.
- Invert
Toggles if the direction of force should be inverted. Can be used to push objects away instead of pulling them in.
Currently, there are 5 types of Producers in addition to the base class:
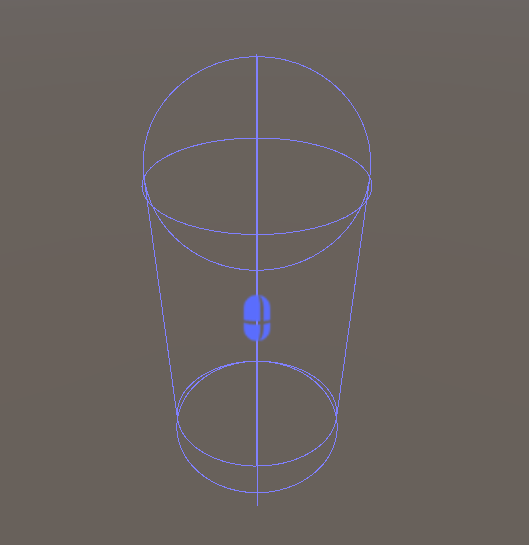
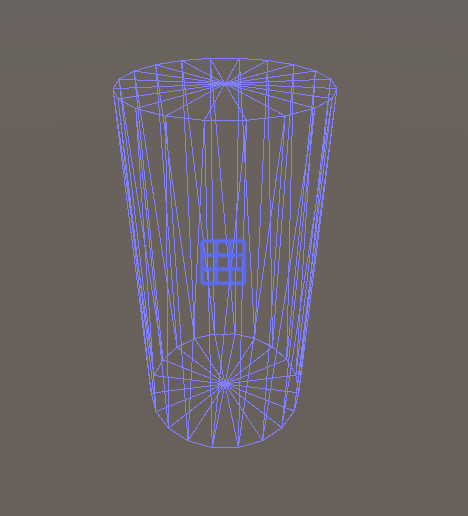
Force Surface
Creates forces based on a ‘Shape’ component. We’ll cover shapes later. Force is determined by the distance from the surface and normal data from the Shape.
Unique Variables:
- Force Range
Determines how far from the surface of the mesh the full strength force will reach.
- Falloff Range
Determines how far out falloff reaches. Falloff creates a smooth transition from full-strength to 0-strength based on distance from the producer.
Force Collider
This is functionally the same as the Force Surface but uses Unity’s built-in colliders to define its shape. This works with all types of colliders.
Force Zone
Creates a force in one direction within an area defined by a ‘Shape’.
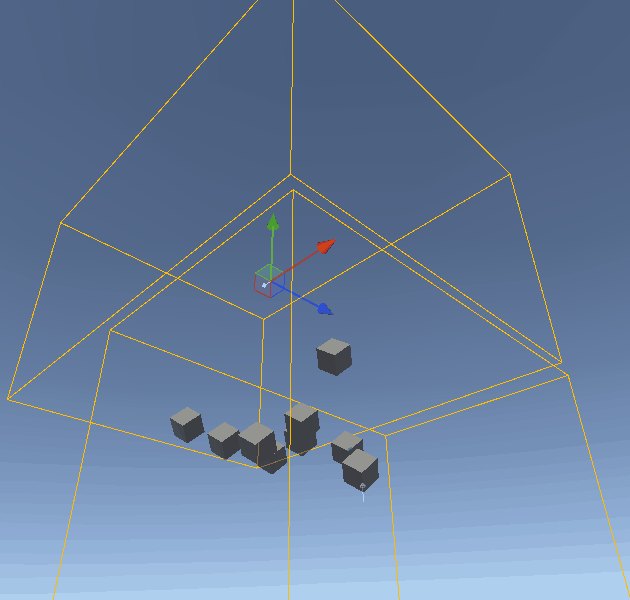
Unique Variables:
- Force Direction
The direction in which force will be applied within this zone. Normalized at runtime.
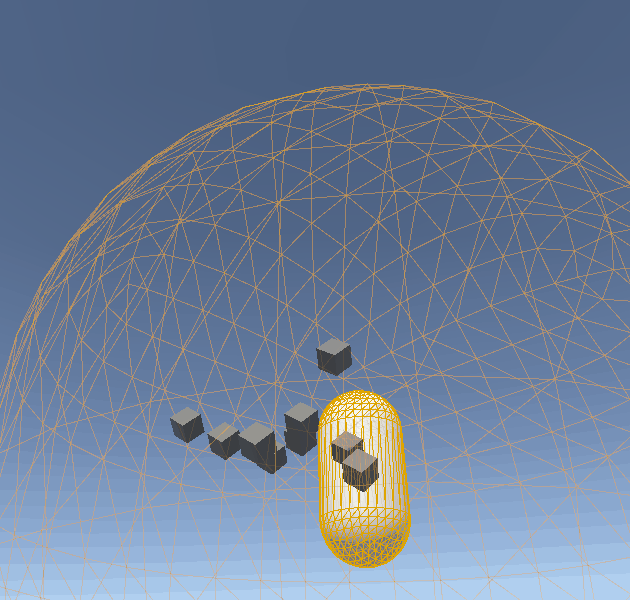
Force Point
Applies a force towards a single point in space with an inner radius and falloff. The inner range is determined by scale.
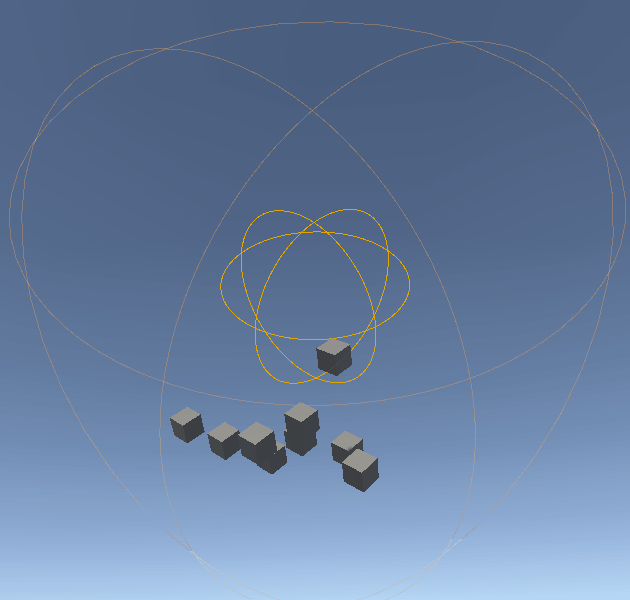
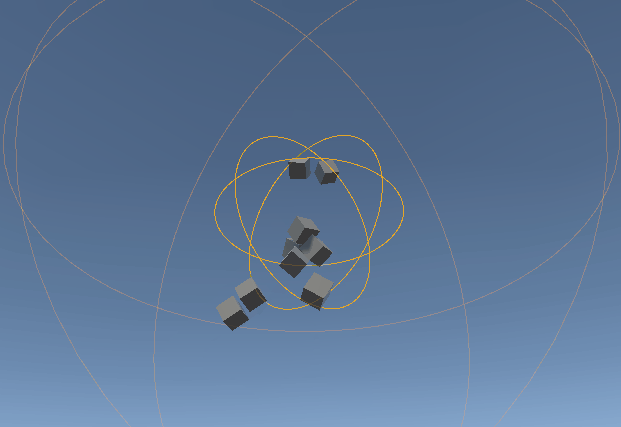
Force Global
Creates a force in one direction for the entire scene.
(very good gif)
Unique Variables:
- Force Direction
The direction in which force will be applied within this zone. Normalized at runtime.
Shapes
Shapes are components you can add to game objects to define an area or surface where forces should be applied. Shapes can either be pre-defined 3D objects with SDF and other properties, or can be a Mesh. It should be possible to create your own custom shapes to fit your needs if necessary. All shapes handle drawing their own Gizmos and creation of Bounding Boxes for culling.
Currently, there are 5 Shapes including an unusable base class:
Box Shape
This is one of the simplest shapes. It defines a box within the scene.
Sphere Shape
This is very similar to the box shape but defines a sphere instead!
Capsule Shape
This creates a capsule shape with the same scaling rules as Unity’s capsule colliders.
Plane Shape
Creates a plane that only applies forces ‘above’ the plane.
Mesh Shape
Creates a Shape with any mesh. Meshes can be convex or non-convex, but lower poly meshes are recommended for performance.
Rigidbody Force Receiver
Attach to a rigidbody to apply forces from Force Producers in the scene.
Variables:
- Enable Forces
If this object can actively receive forces from producers.
- Ignore Layer Mask
If this object should only receive forces from producers with correct layer masks, or if it should receive forces regardless of the layer mask.